Will you be using Oracle 19c on Windows Server or Windows 10? Then this step-by-step tutorial is ideal for you.
Installing Oracle Software, like many other DBMS, is not always a straightforward procedure (SQL Server, MySQL, etc.). The processes are straightforward, but if you read the Oracle documentation, which is more than 190 pages long, you might rapidly become confused. There’s a lot of information here.
I’ll simplify these methods for you in this guide. I’ll walk you through the major steps for installing Oracle 19c on Windows for the first time.
Are you planning on installing Oracle Database 19c on Windows? To avoid installation troubles, ensure that your environment matches the prerequisites.
Checking the installation requirements is a critical step in creating your database. It not only prevents installation mistakes but also improves the future database’s performance.
Table of Contents
- Step-by-step instructions for installing Oracle Database 19c on Windows 10
- 1. Oracle Database 19c software for Windows is available for download.
- 2. Run the installation wizard
- 3. Select the database installation choices
- 4. Determine the kind of database installation
- 5. Select a database edition
- 6. Enter the Oracle home user name
- 7. Indicate the location of the Oracle software
- 8. Checks for minimum prerequisites, summary, and completion of the installation
- 9. If no errors occur, click install
- 10. That’s the end of it. You may now exit the installation wizard
- Learn more
Step-by-step instructions for installing Oracle Database 19c on Windows 10
1. Oracle Database 19c software for Windows is available for download.
The very first step is to download the Oracle client software to install.
Although downloading Oracle 19c software is free, using it in a production setting requires a license. It should also be noted that downloading requires an Oracle account.
2. Run the installation wizard
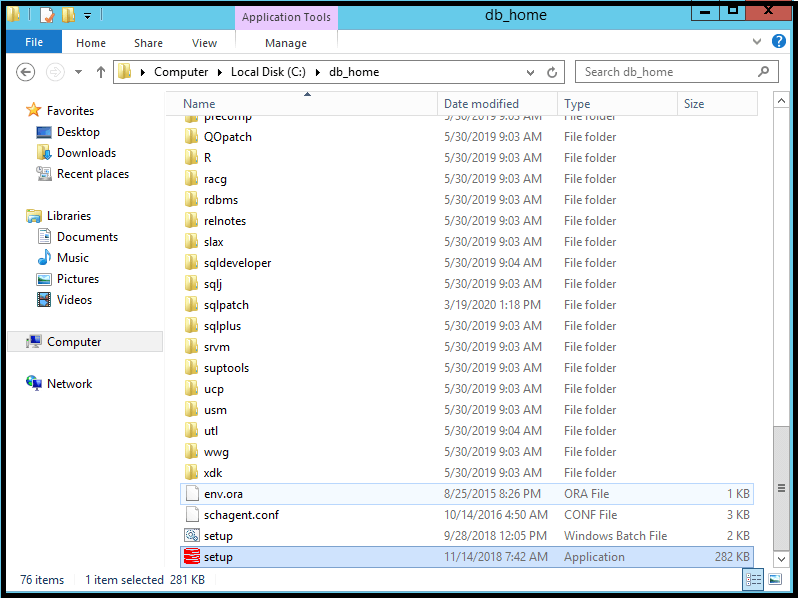
When the download is finished,
- Unzip the package and copy it to the root of your disc.
- Rename the folder to something shorter (for example, db home).
- and then run the setup.
3. Select the database installation choices
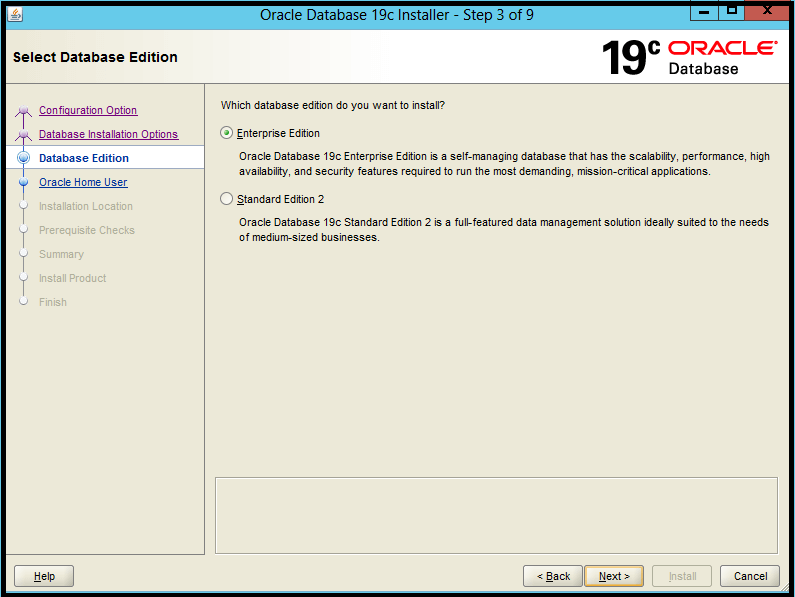
4. Determine the kind of database installation
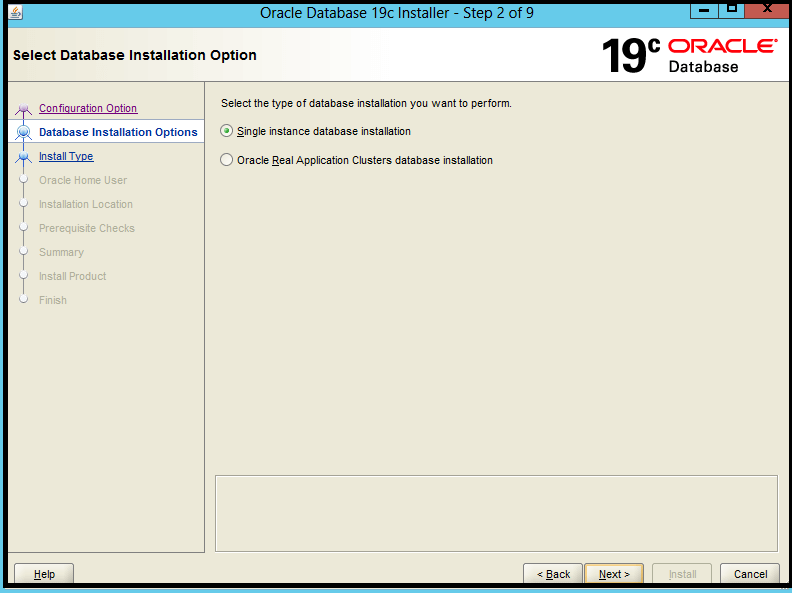
5. Select a database edition
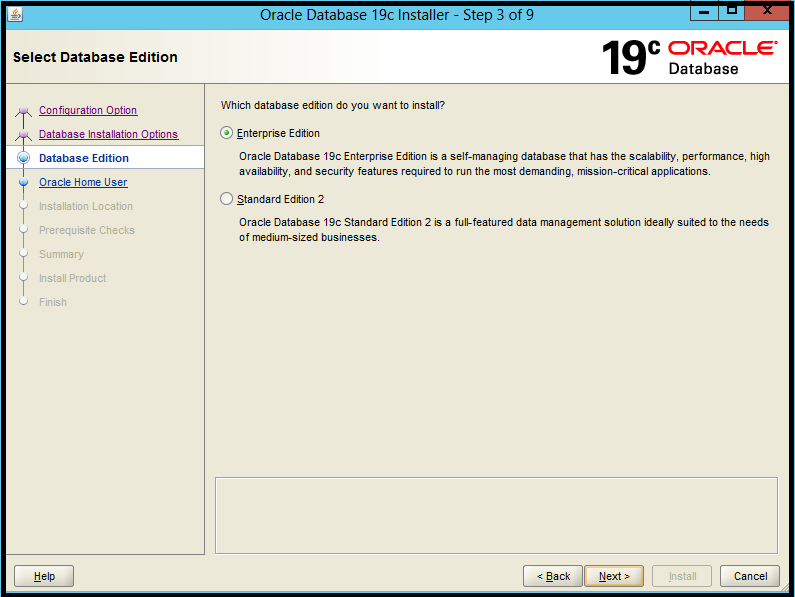
6. Enter the Oracle home user name
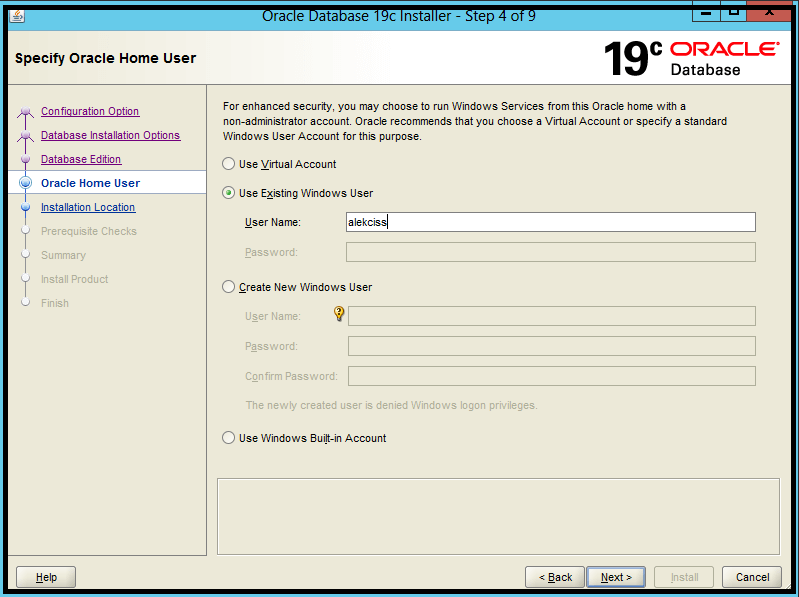
7. Indicate the location of the Oracle software
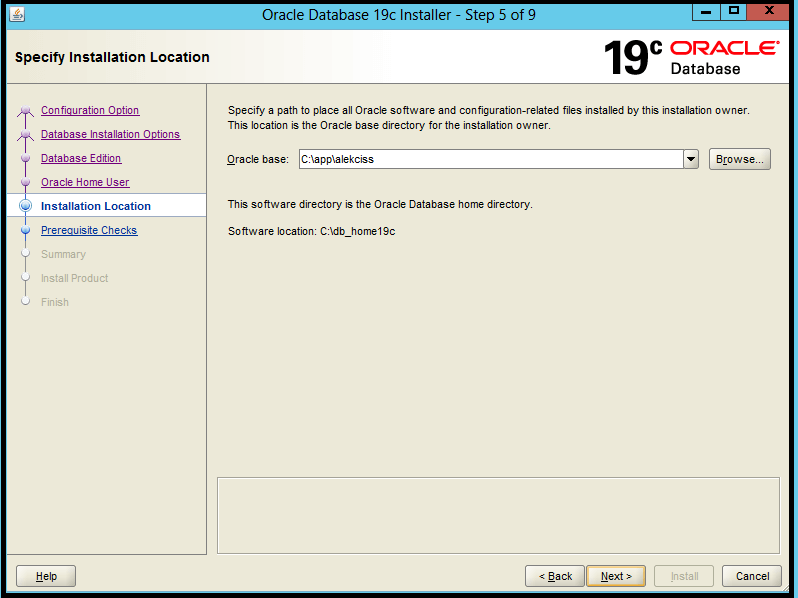
8. Checks for minimum prerequisites, summary, and completion of the installation
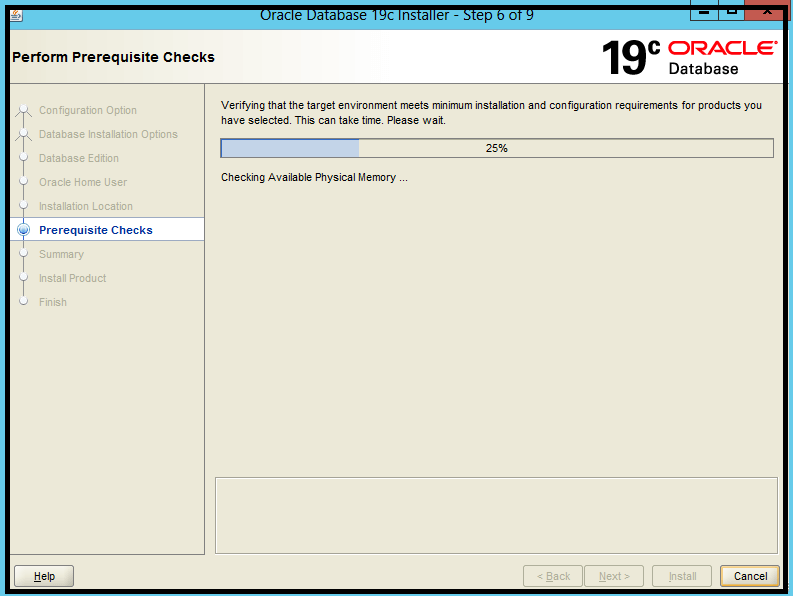
9. If no errors occur, click install
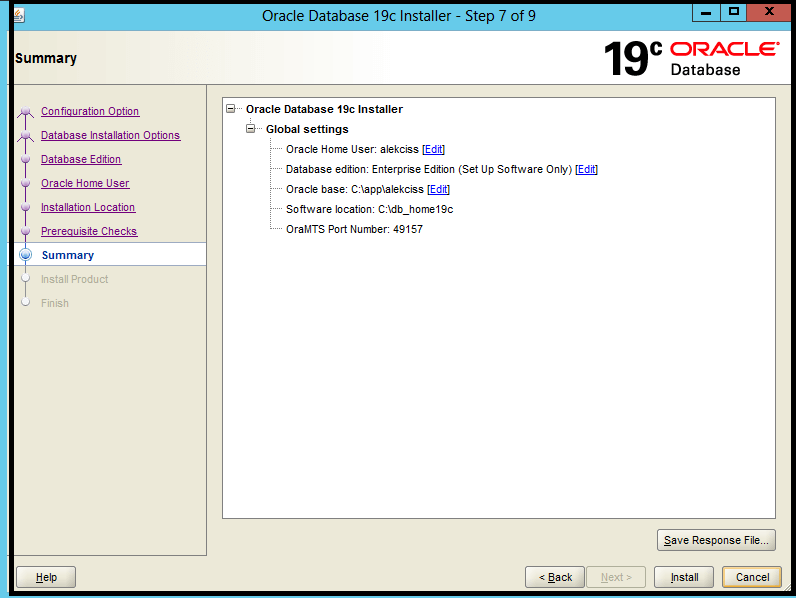
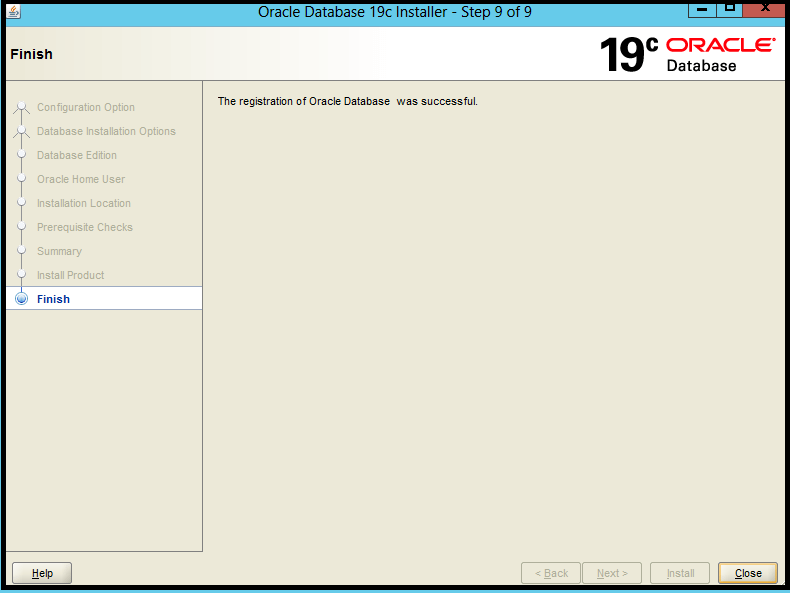
10. That’s the end of it. You may now exit the installation wizard
Learn more
- Oracle Database Switchover Steps
- Oracle Database Refresh from Production to Development Using RMAN
- Oracle 11g RMAN Duplicate Database Without Target Connection
- Migrate Oracle Database From Windows to Linux
